Black and White colour conversion
June 4, 2021I hope you are all keeping well, I have been keeping myself busy with learning all about a new program called Imerge Pro and its latest update.
I thought I would share some work I have been completing while testing out features within the program.
I decided to have a go at colourizing a WW2 image, as it is something I have never tried before and was keen to learn about.
This mini-project I was working on was a big learning experience, as I have never colourized an image before. I am efficient at editing the work I shoot but decided to set myself a challenge to learn new techniques I had always fancied having a go at.

The original B/W image is called - Taxis to Hell and Back – Into the Jaws of Death and was taken at around 7.40 am on 6 June 1944 by Coastguard Chief Photographers Mate Robert F Sargent as the D Day invasion begun.
Although there is not a lot of colour in the boat or sea due to both being grey, the uniforms took quite a lot of work to get right green and to also retain the details. The sea took a fair while too as I had to get some form of tonal range into the sea to stop it from looking Black and White and flat.
The best tool I found for this is the Colorize black and white effect along with the use of its built-in colour picker, then having some great reference images to set your colour to speeds up the process furthermore. Within the Colorize black and white effect, you can pick a solid colour or gradient colour coupled with a brush mask very helpful in making the process work for me. Then adding a curve for contrast to these colour tones really brings them to life
It’s a time-consuming task, but the results it can yield are great.
At times I found myself working at 1600% with the downsample value set at a good 0.5% as the work was very intricate.
You can see the workflow and the number of layers I ended up with, each layer represents a different colour that I believe should be in the image.

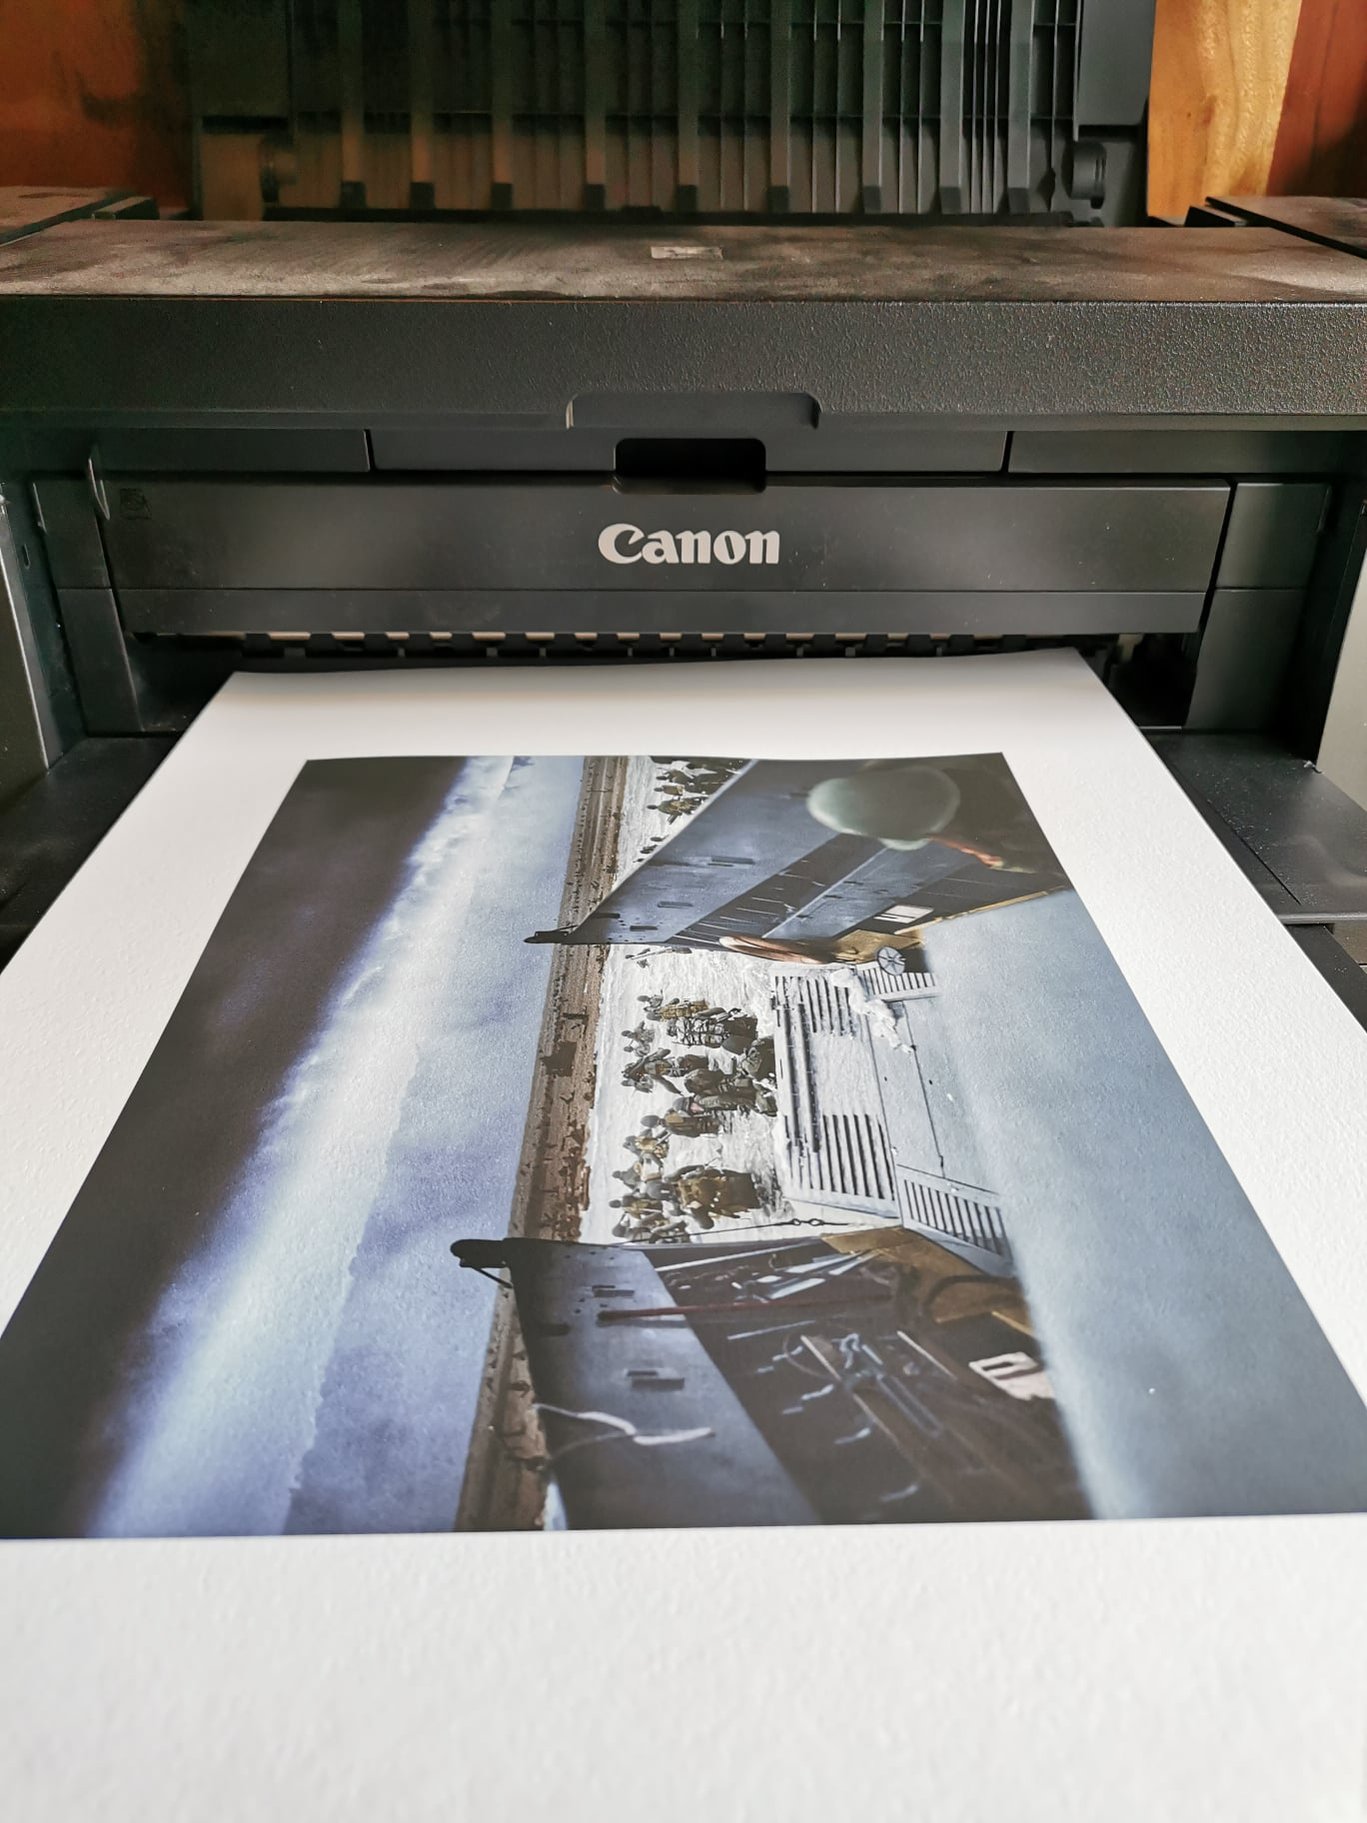


To get the colours looking as good as I was able to I used a lot of reference images from sites such as the Imperial War Museum London I was able to try and get the colours as close as I could, but most importantly I had a lot of fun learning while doing it. I decided I would run this through the printer for one final test, so I opted for a very slightly textured PermaJet Portrait white 285 to try and help the whites in the sea pop and to also make the dark image pop out of the paper more.